Most users dealing with this issue are reporting that once Hyper-V virtualization is enabled from BIOS, the booting sequence won’t complete. But as soon as you disable Virtualization from BIOS, all is well again. After investigating this issue thoroughly, it turns out that there are several underlying causes that might be responsible for the apparition of this issue. Here’s a rundown of every possible culprit that might prevent your Windows 11 computer to boot while virtualization is enabled:
Uninstall Trusteer Rapport (or similar application)
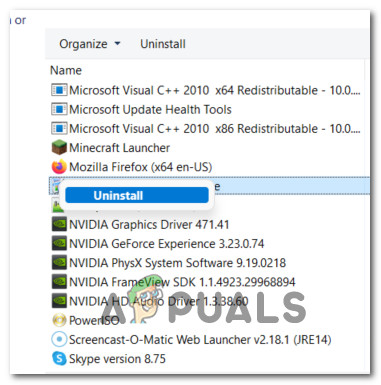
I know this might seem like an unlikely culprit, but a lot of users using security apps recommended by banks have noticed that the culprit responsible for preventing Windows 11 from booting is actually an app called Trusteer Rapport. There might be other similar apps causing the same kind of issue, but so far Trusteer Rapport is almost solely blamed for this kind of issue. Unfortunately, if you’re very dependant on Trusteer Rapport, there isn’t a viable fix yet that will enable you to keep both of these components – It’s either one or the other. If you can’t do without Trusteer Rapport, the only way to allow your Windows 11 computer to boot with virtualization enabled is to get rid of the conflicting software. Note: It’s possible that a different app utilizing the same segmentation technology is causing this behavior. If you have a suspect, uninstall it as we’ll do below with Trusteer Rapport. Follow the instructions below to temporarily disable the virtualization technology so you can disable the Trusteer Rapport (or similar app): If the problem is still not fixed, move down to the next potential fix below.
Fix the Boot Repair Loop
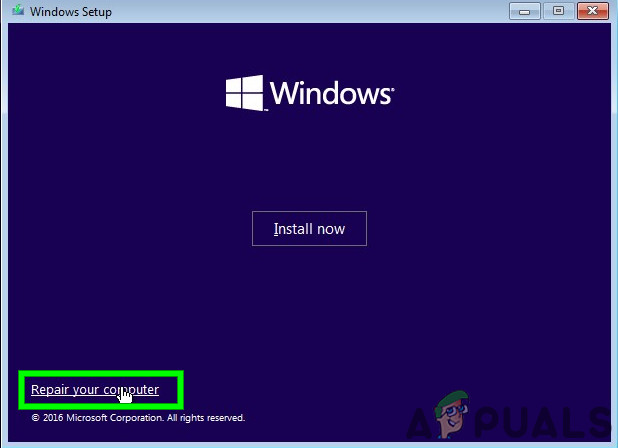
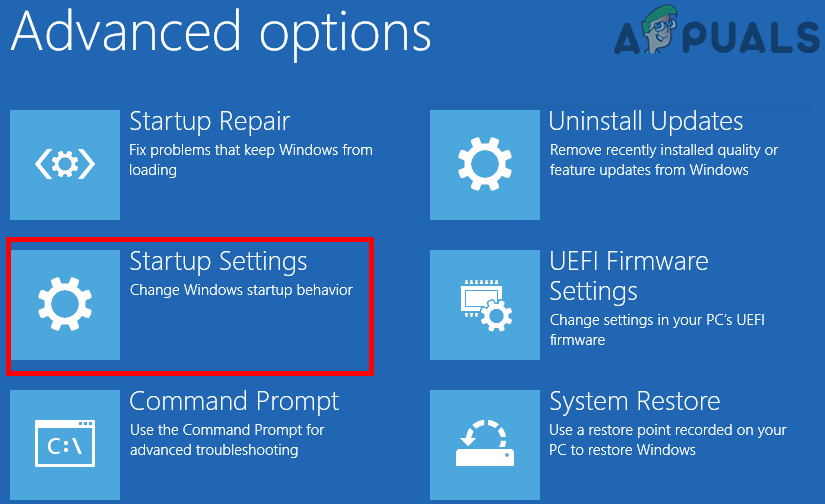
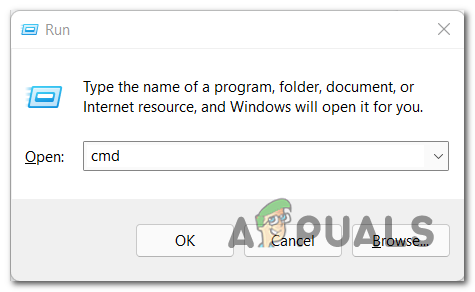
Unfortunately, that notorious issue that plagued the previous Windows version (Boot Repair Loop) is back with Windows 11. Apparently, when you enable Hyper-V to facilitate core isolation (or whatever else you want to get going), there’s a slight chance an important flag will be set to AUTO, which in turn causes the Boot Repair loop. Resolving this particular issue is exactly the same as it was with previous Windows iterations – You’ll need to boot in Safe Mode, then set HyperVisorLaunchType to OFF before rebooting and rebuilding the corrupted BCD data. For step by step instructions on how to do this, follow the instructions below: In case the issue is still not resolved, move down to the next potential fix below.
Use a healthy System Restore point
If the methods above were not effective in your case, one last thing you can do before refreshing every system file is to restore a healthy System Restore snapshot using the System Restore utility. If the problem is related to a recent system change that facilitated a conflict with the virtualization technology, chances are this method will fix it. But in case you end up using a system restore point to no success or you have no viable restore points to choose from, move down to the final potential fix below.
Perform a Repair install
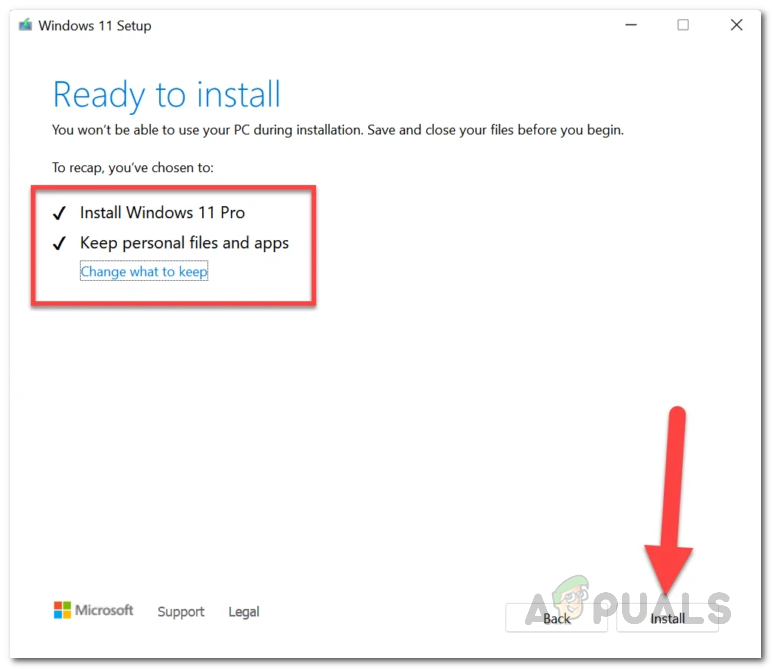
If you’ve come this far, the only viable option for you is to replace every system file in order to take care of every potential corrupted system file element that might be causing an issue with the Hyper-V Virtualization technology. You can always clean install Windows 11, but a better way to go around this issue is to perform a repair install (in-place upgrade) – This operation will allow you to keep all your personal files, apps, and documents that are stored locally. This operation will only touch the Windows 11 system files.
Fix: Windows 11 Won’t Boot After Enabling Secure BootHow to run Hyper-V in a Virtual Machine with Nested Virtualization?Touchpad not Working after Windows 11 Update? Try these fixesFix: Can’t create Hyper-V 2019 Virtual Switch (Error 0x80070002)
